小小又开始学习了,这次学习的内容是Spring Cloud 相关内容,这次学习的是Config相关的内容。
通过git完成分布式的配置文件的部署,达到更新git,就可以更新配置信息的功能、
Server端
添加相关maven
这里配置Server端
添加相关的依赖
 <dependency>
            <groupId>org.springframework.cloud</groupId>
            <artifactId>spring-cloud-config-server</artifactId>
        </dependency>
更新相关配置文件
server:
  port: 8080
spring:
  application:
    name: spring-cloud-config-server
  cloud:
    config:
      server:
        git:
          uri: https://github.com/meteor1993/SpringCloudLearning # git仓库的地址
          search-paths: chapter6/springcloud-config  # git仓库地址下的相对地址,可以配置多个,用,分割。
          username: #Git仓库用户名
          password: #Git仓库密码
其中,uri表明git的配置地址,search-paths表明git相关的配置路径,这里使用git作为分布式的配置文件的存储
其配置文件的路径为
SpringCloudLearning/chapter6/springcloud-config/springcloud-config-pro.properties
访问地址为 https://github.com/meteor1993/SpringCloudLearning/blob/master/chapter6/springcloud-config/springcloud-config-pro.properties
添加启动类相关的注解
这里添加EnableConfigServer类相关的注解,
用于激活Spring Cloud 对配置中心的相关激活
package com.example.demo;

import org.springframework.boot.SpringApplication;
import org.springframework.boot.autoconfigure.SpringBootApplication;
import org.springframework.cloud.config.server.EnableConfigServer;

@SpringBootApplication
@EnableConfigServer
public class DemoApplication {

    public static void main(String[] args) {
        SpringApplication.run(DemoApplication.class, args);
    }

}
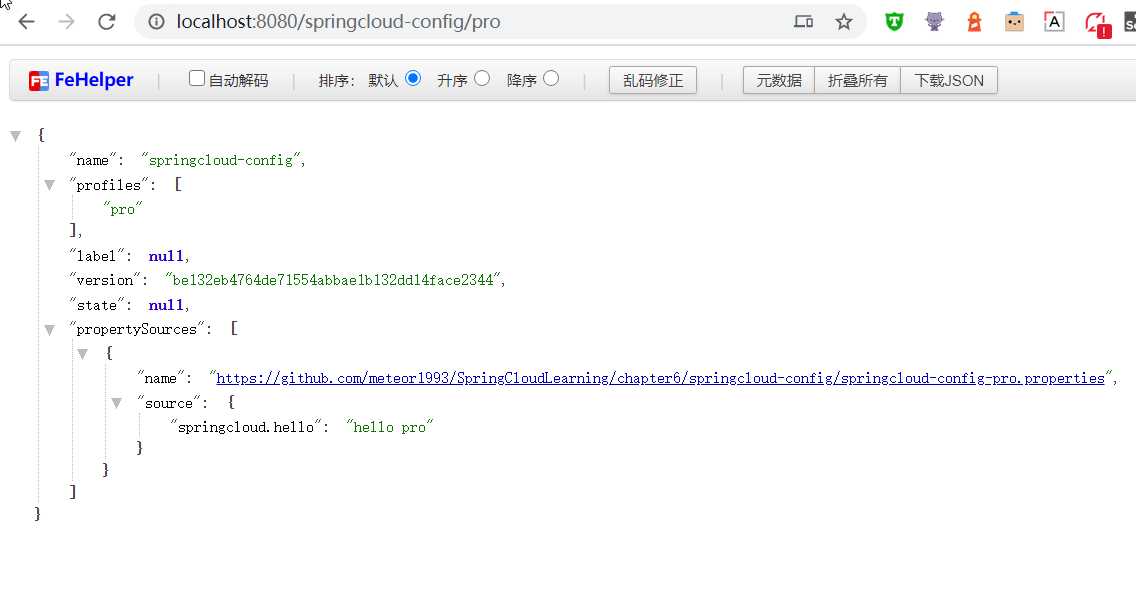
这个时候访问 http://localhost:8080/springcloud-config/pro 就可以实现对配置文件信息的访问
其中springcloud-config为配置中心的文件名称。pro为对应的相关的配置文件。
这里对应的相关的配置文件,命名有
springcloud-config-dev.properties  对应于dev开发模式
springcloud-config-pro.properties  对应于pro开发模式
springcloud-config-test.properties  对应于test开发模式
其访问的pro更改为相关的配置类型即可
访问效果
访问连接 http://localhost:8080/springcloud-config/pro 即可看到相关的配置信息
用户端
前面服务端已经访问完成,这里访问客户端
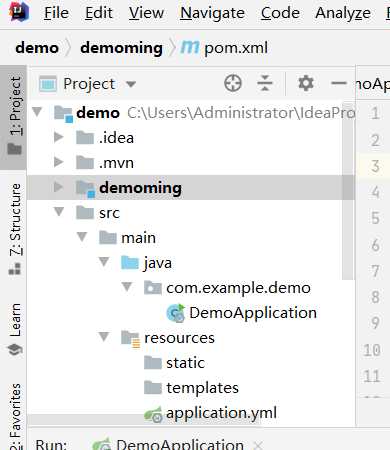
新建子项目
添加相关的maven
<!-- https://mvnrepository.com/artifact/org.springframework.cloud/spring-cloud-starter-config -->
<dependency>
    <groupId>org.springframework.cloud</groupId>
    <artifactId>spring-cloud-starter-config</artifactId>
    <version>2.2.3.RELEASE</version>
</dependency>
添加配置文件
这里配置文件分为两个配置文件,分别为application.yml 和 bootstrap.yml 这两个配置文件
application.yml
这里配置application.yml 配置文件
server:
  port: 8081
spring:
  application:
    name: spring-cloud-config-client
再次配置bootstrap.yml 文件
spring:
  cloud:
    config:
      name: springcloud-config
      profile: dev
      uri: http://localhost:8080/
      label: master
这样就完成了一次的配置文件书写。
其中name为配置git的name,profile对应于版本。url对应于server的信息,label对应于相关的分支。
添加启动类
package com.springcloud.configclient;

import org.springframework.boot.SpringApplication;
import org.springframework.boot.autoconfigure.SpringBootApplication;

@SpringBootApplication
public class ConfigClientApplication {

    public static void main(String[] args) {
        SpringApplication.run(ConfigClientApplication.class, args);
    }

}
添加配置信息读取类
添加配置信息的读取类
package com.springcloud.configclient.controller;

import org.springframework.beans.factory.annotation.Value;
import org.springframework.web.bind.annotation.RequestMapping;
import org.springframework.web.bind.annotation.RestController;

/**
 * @Author: shiyao.wei
 * @Date: 2019/7/4 16:19
 * @Version: 1.0
 * @Desc:
 */
@RestController
public class HelloController {

    @Value("${springcloud.hello}")
    private String hello;

    @RequestMapping("/hello")
    public String from() {
        return this.hello;
    }
}
这样,就完成了配置信息的统一读取